I grew up in a white-bread household, and I mean that literally as well as metaphorically. The bread of choice from my childhood was generally super-white and super-squishy, which occasional nods to loaves like rye or pumpernickel.
Hence my surprise when my mother came swanning in from the grocery store with this crazy flat bread with a pocket. It was, like, diet bread, and IMAGINE! We could stuff it with vegetables and lettuce and just the tiniest bit of dressing and it would be like eating a sandwich only more diet-y. What will they think of next, I wondered?
Hence my further surprise when I learned that they’d thought of it long ago. Nascent forms of pita have been around for more than 14,000 years and by 4,000 years ago, flat pita bread (maybe minus the pocket) was a staple in Babylon and Mesopotamia. This easy to make, easy to transport kind of bread then spread through the whole Middle East/Balkan/Mediterranean region because deliciousness transcends borders.
I’m making whole-wheat pita primarily because I prefer the taste, and this is my kitchen. We will get to all white flour pita in another post.
[Click here for a printable .pdf file of whole wheat pita bread]
Here’s what you need:
- 1 cup warm water, shoot for around 105°F
- 2 teaspoons active dry yeast
- 1 Tablespoon honey or agave
- 1 1/2 cup whole wheat flour
- 1 1/4 cup all-purpose flour plus extra if needed
- 1 teaspoon salt
- 1 Tablespoon extra virgin olive oil, plus more for proofing
Here’s what you do:
Mix your water and honey so the honey is thoroughly dissolved in the water. Pour your water and honey into a large mixing bowl (if you have a stand mixer, feel free to use it), and add yeast. Combine it all together, and the mix will look cloudy and unappealing. Just wait. In a matter of minutes it will start to look like Bayonne Beach at low tide, as the yeast starts to bloom.
The good news is, it’s supposed to look this way. The better news is, you should start to smell that yeasty, bready smell as the yeast wakes up. I always get ravenously hungry at this point because it’s a Pavlovian and that smell triggers my nom response.
Add the flours, salt, and Tablespoon of olive oil, and stir it all together.

I am new to the dough hook and it has become my favorite thing, particularly because I have some mild carpal issues in both wrists. Inverted yoga positions are pretty much off the table for me at this point, but I digress. What is this device that wants to help knead on my behalf so I may enjoy homemade baked goods without crippling myself? I’ll use it!
Anyway. Knead for five minutes or so by hand, or two minutes or so if by hook, on speed 2. Remember, you’re looking for a fairly smooth ball. If you’re using the mixer, it’s pulled away from the sides of the bowl and if you’re kneading by hand, it stays generally together and doesn’t want to remain attached to the table. Don’t be afraid to add flour as you’re mixing if it’s too sticky. It should still have a little bit of stick, and a pretty good amount of elasticity. Put your ball of dough in the proofing bowl you have waiting, that’s coated in olive oil.

Cover with a plastic wrap or towel and place your dough in a steady-temperature, draft-free spot in your home for one hour. It should double. Also the smell will likely drive you insane with hunger. Or is that me, again?
At the end of that hour, start heating your oven to 450°F (230°C) and of course, if you proof in the oven take the dough out before preheating. Put your baking sheet in the oven to get hot, too. The mystical bread reaction that creates the pocket requires a very hot oven, which will turn the moisture in your dough into steam and cause the signature puff. So you want everything–the oven, the baking surface–to be as hot as you can get it. You can even use a pizza stone with your baking sheet if you’d like, but I always find them hard to manage. That’s just me. You do you.
Take your big puffy mound of risen dough, deflate it a bit, and turn it out once more onto your floured work surface. Cut it into 8 relatively equal chunks (I tend to gently roll mine into kind of a log and cut in half, and then cut the halves in half, and so on) and roll them into a ball. Try not to fold the dough together, because then you’ll get folds on the insides of your pockets. Then roll them all out into rounds about 1/4 inch thick, and try not to roll them thinner than that or they won’t puff properly while they cook.

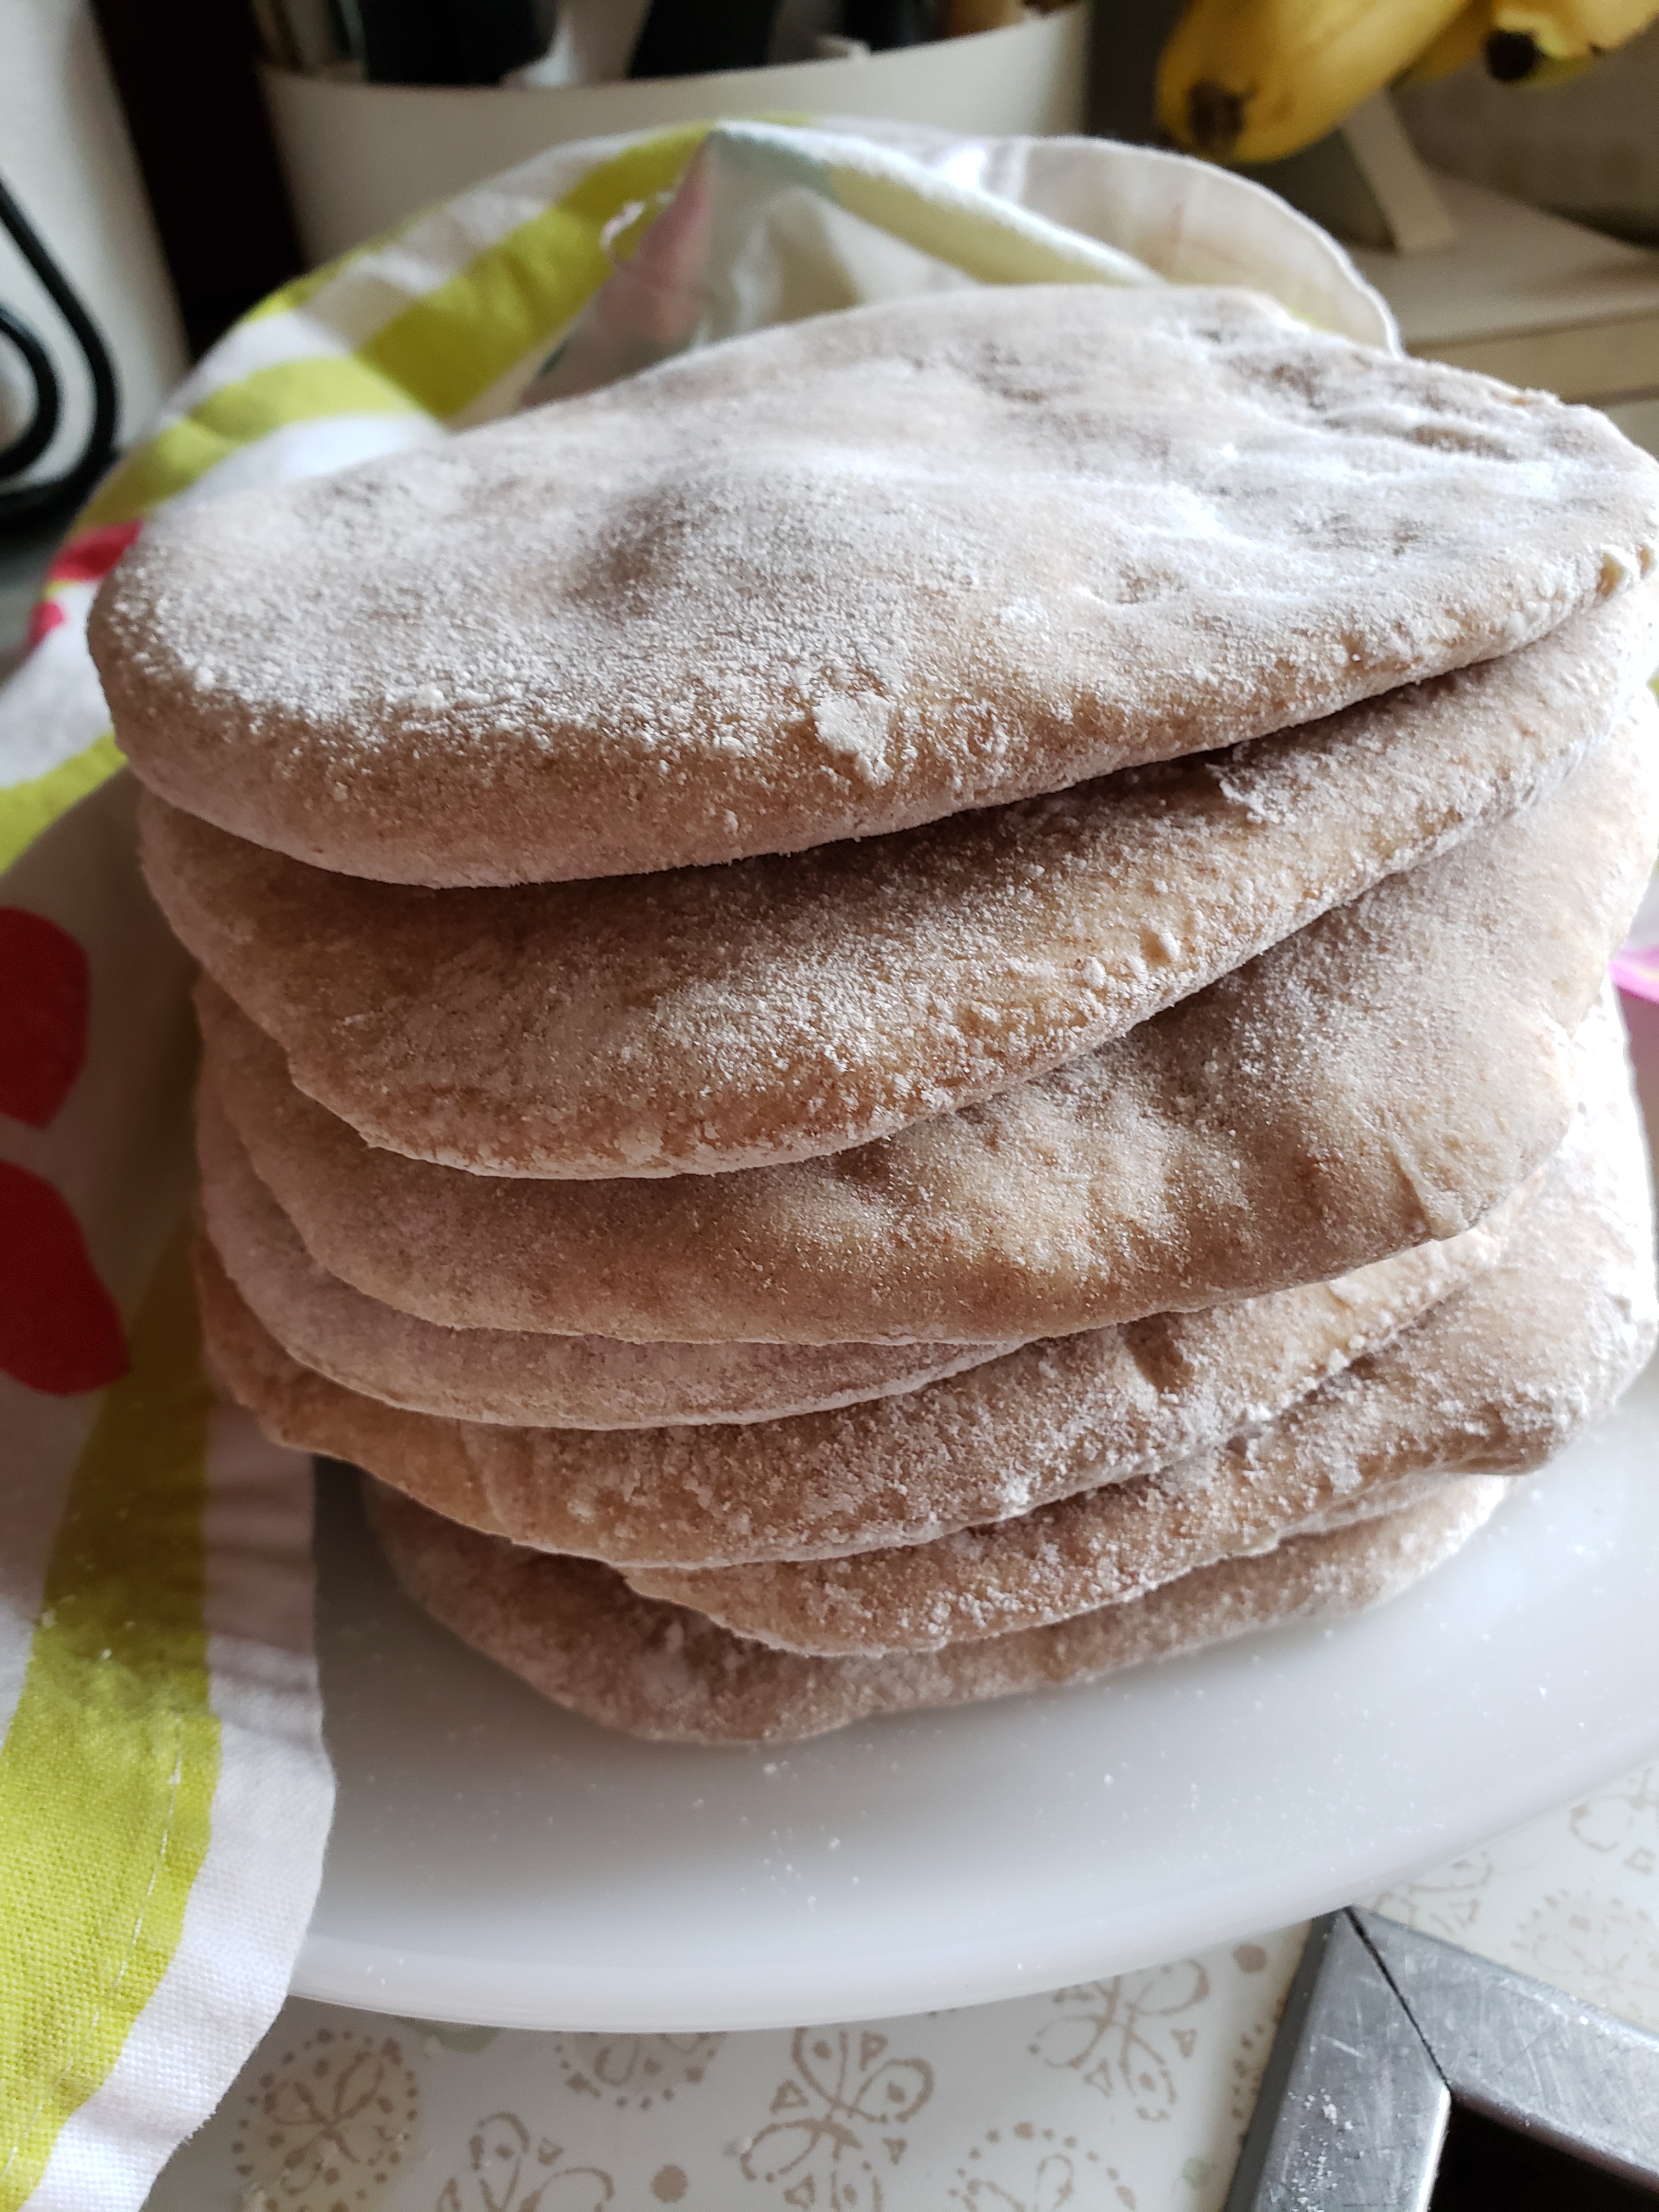
When your oven is hot, put your pita rounds on the baking sheet. I usually bake them off three at a time, and they don’t need any oil or anything on the sheet. Just lay them on so they don’t overlap each other, and close the oven door. Four minutes, or maybe five later, you’ll have beautiful, fresh, hot pita. Set them on a cooling rack and bake off the remainder. Eventually, you’ll end up with a glorious stack of bread that, if you’re anything like me, won’t last more than a few days in your house.
I’m not kidding when I say I am going to make a fresh batch of these as soon as I finish this post.
And what can you do with these pitas? Enjoy them with hummus. Top them with sauce and cheese and enjoy personal pizzas. We served them stuffed with a lentil salad a la Yotam Ottolenghi, and it was…
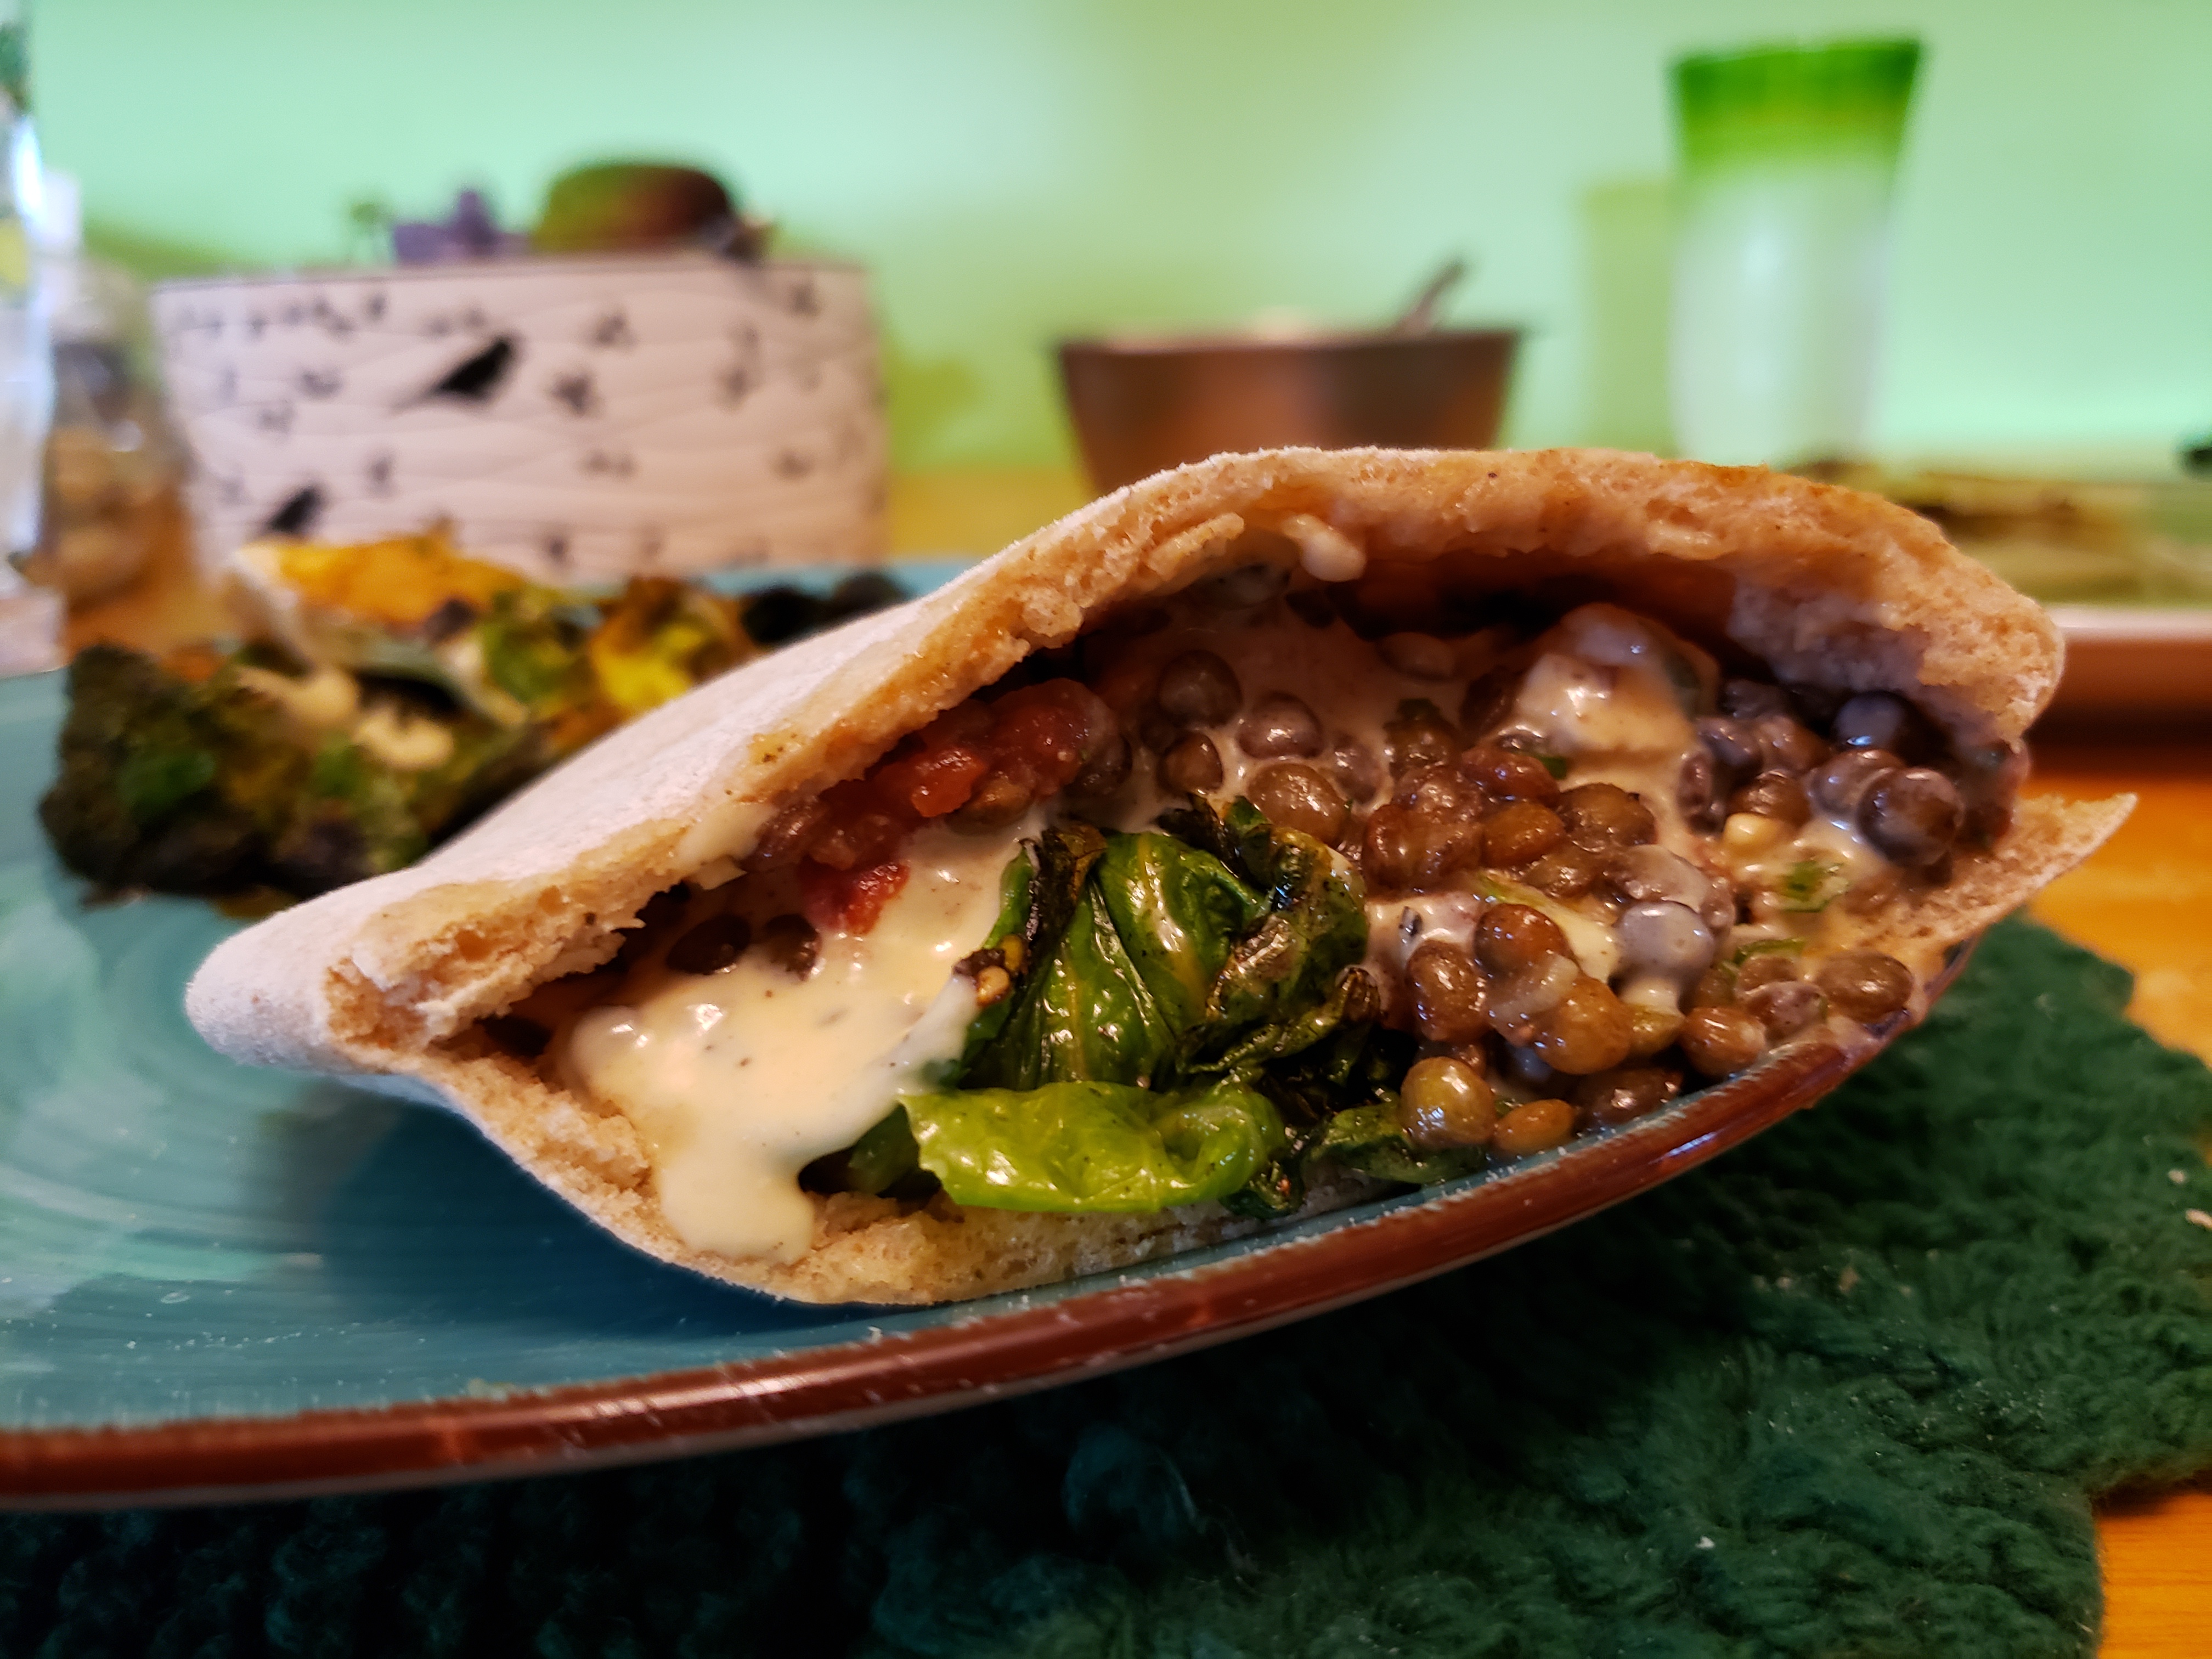
…extraordinary.
Enjoy the pita! Have fun in the kitchen! Flatbreads and pancakes are your friends, especially when they’ve been around for 4,000 years or so.
